César Kano, a professional photographer and guide for National Geographic Day Tours, shares tips and insights on how to level up your travel photography.
Travel and photography seem to be the perfect match. However, beginners may feel overwhelmed by techniques, pre-departure preparation, composition, editing, and the necessary equipment. That’s why we asked César Kano, a professional photographer and guide for the National Geographic photography tour in Gran Canaria, to share tips and insights that’ll help enthusiasts take better photos.
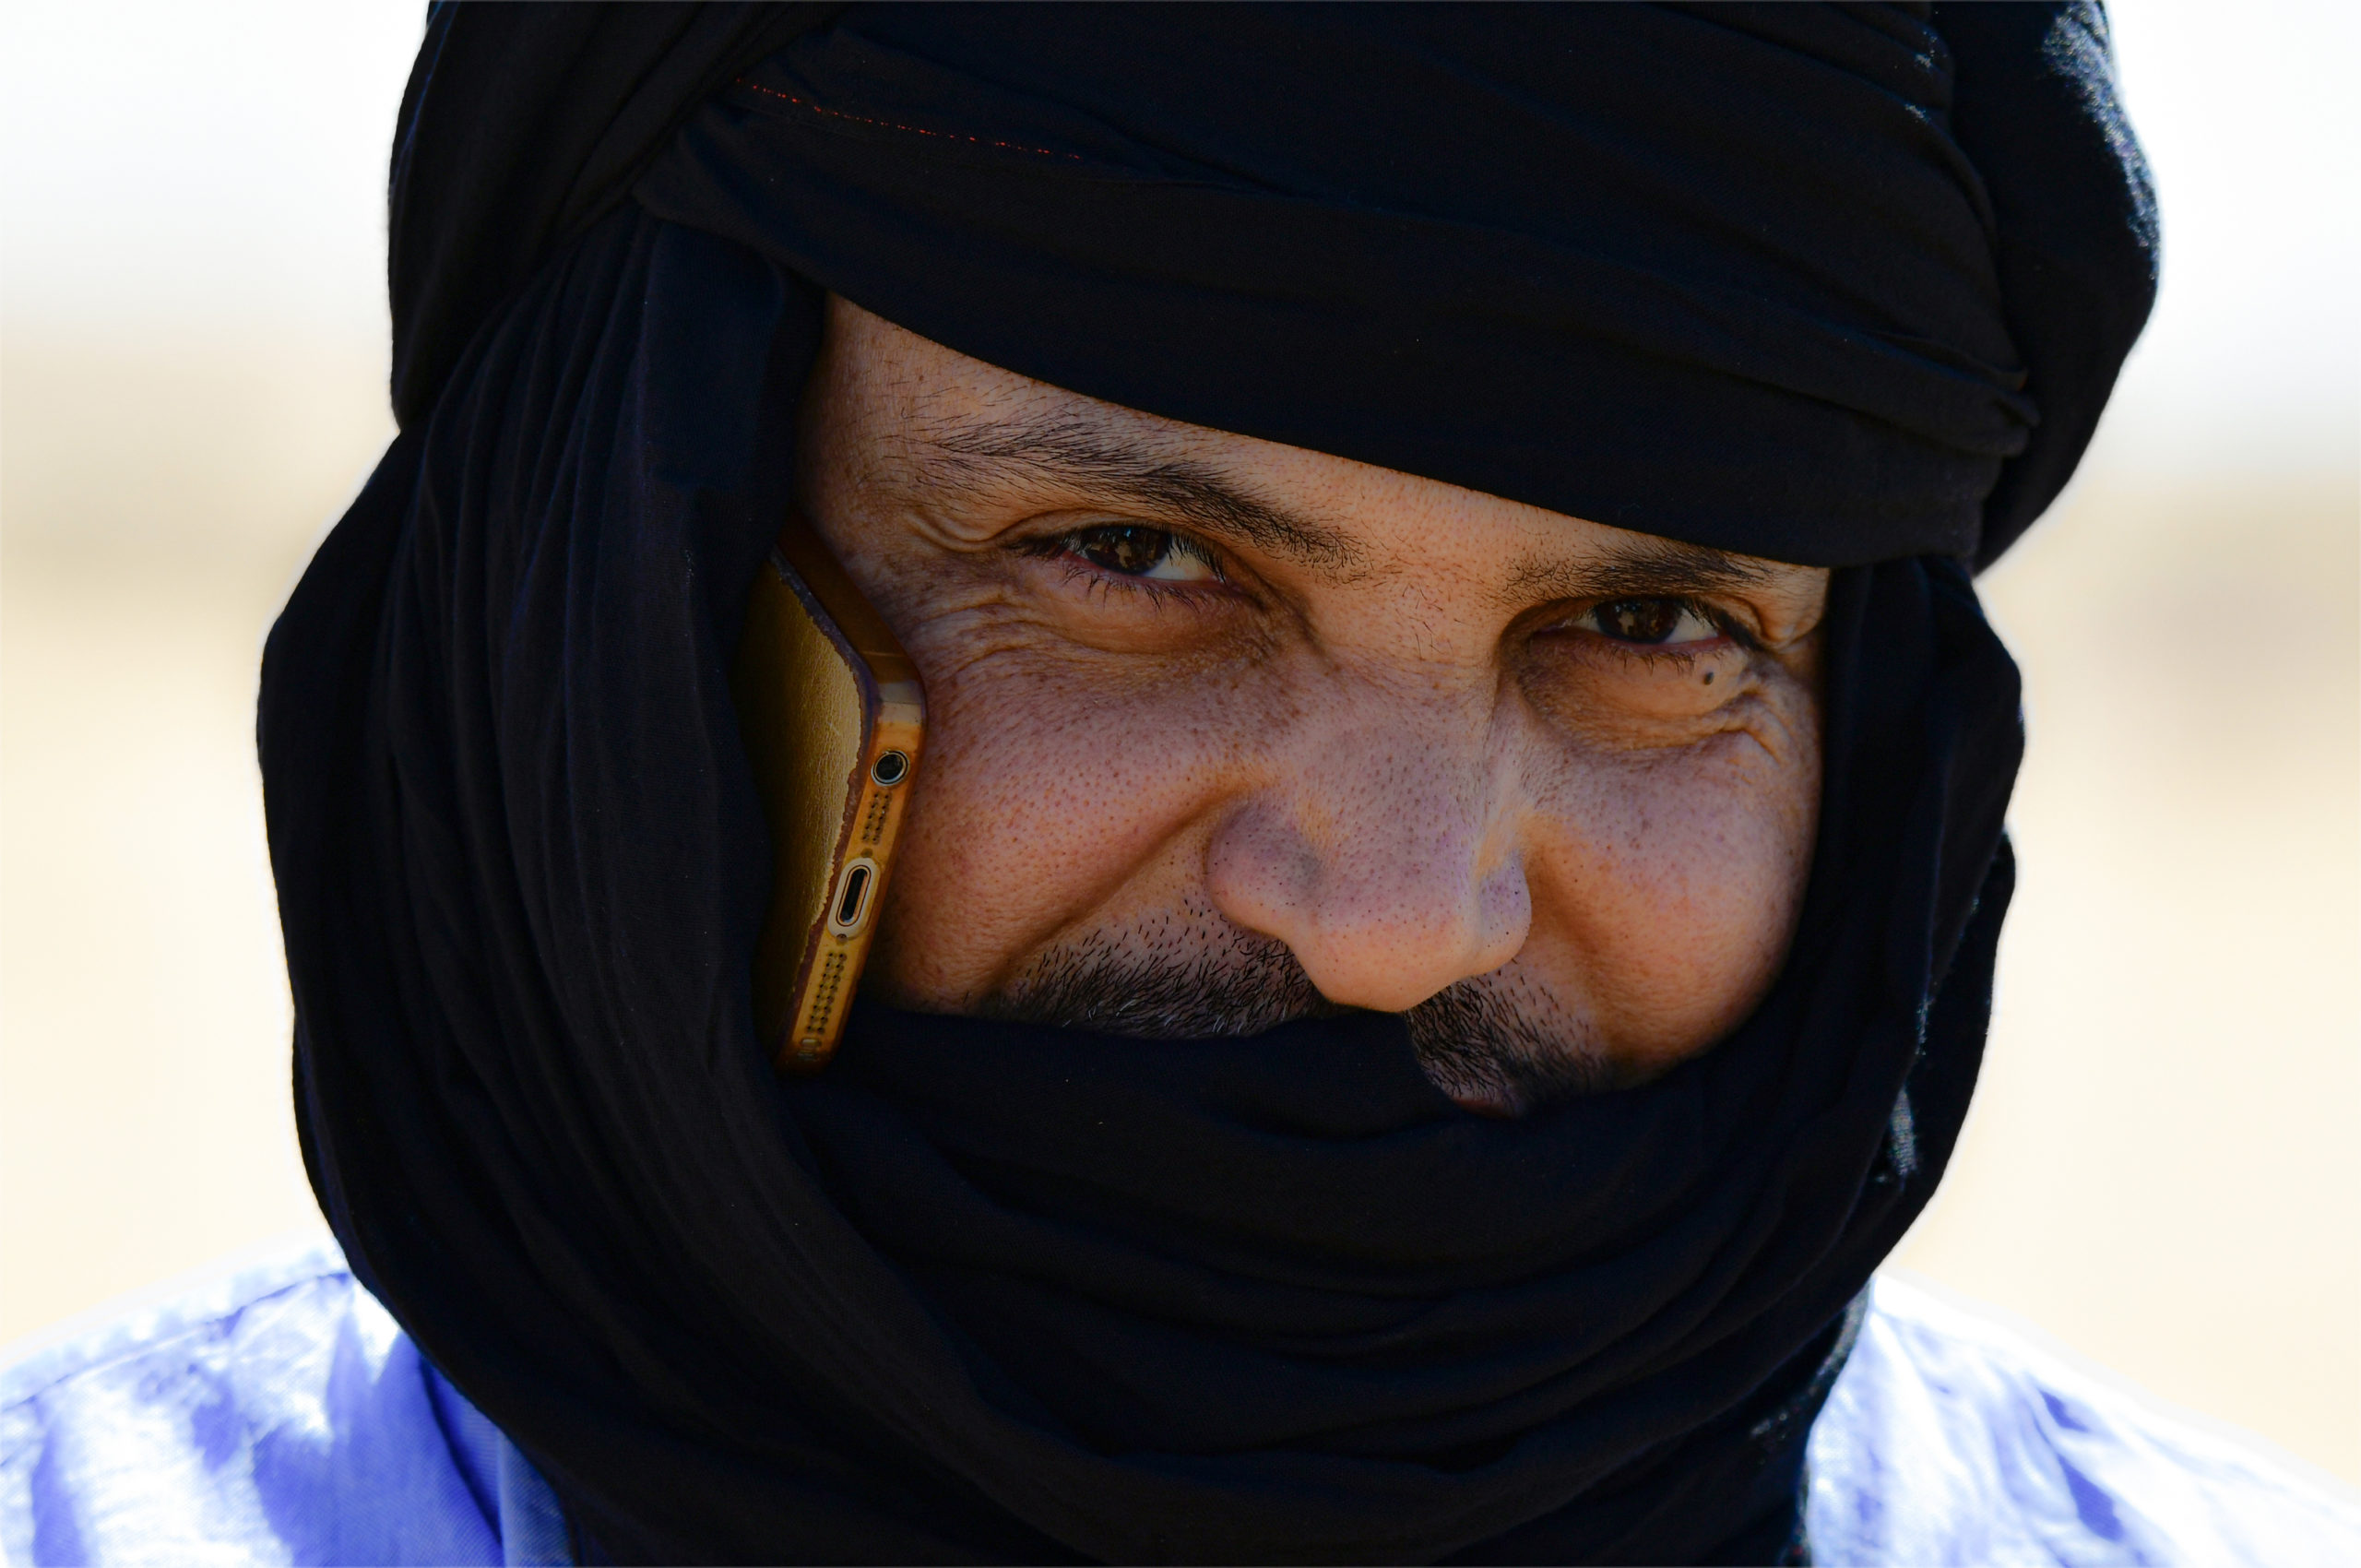
César tells us that, for him, travel photography means “exploring, investigating, learning, immersing oneself in the territories to propose new photographic projects, through […] lived experiences, to capture the essence of the destination.” Additionally, travel photography can also mean rediscovering one’s own territory, with a new lens or with the desire to tell a story.
From the necessary pre-preparations to the best time to shoot, discover all of César’s top tips on travel photography.
Prepare for your trip
Before leaving for your destination, careful preparation is essential to making the most of all photographic opportunities. César emphasizes the importance of research, a process that nowadays can be easily done online, on maps, and on social media. However, César also advises not to over-prepare and reveals that: “sometimes I like to go by instinct and let myself be carried away by the randomness of encounters. If you have everything too programmed [..] the feelings and emotions while photographing might lose their essence.”
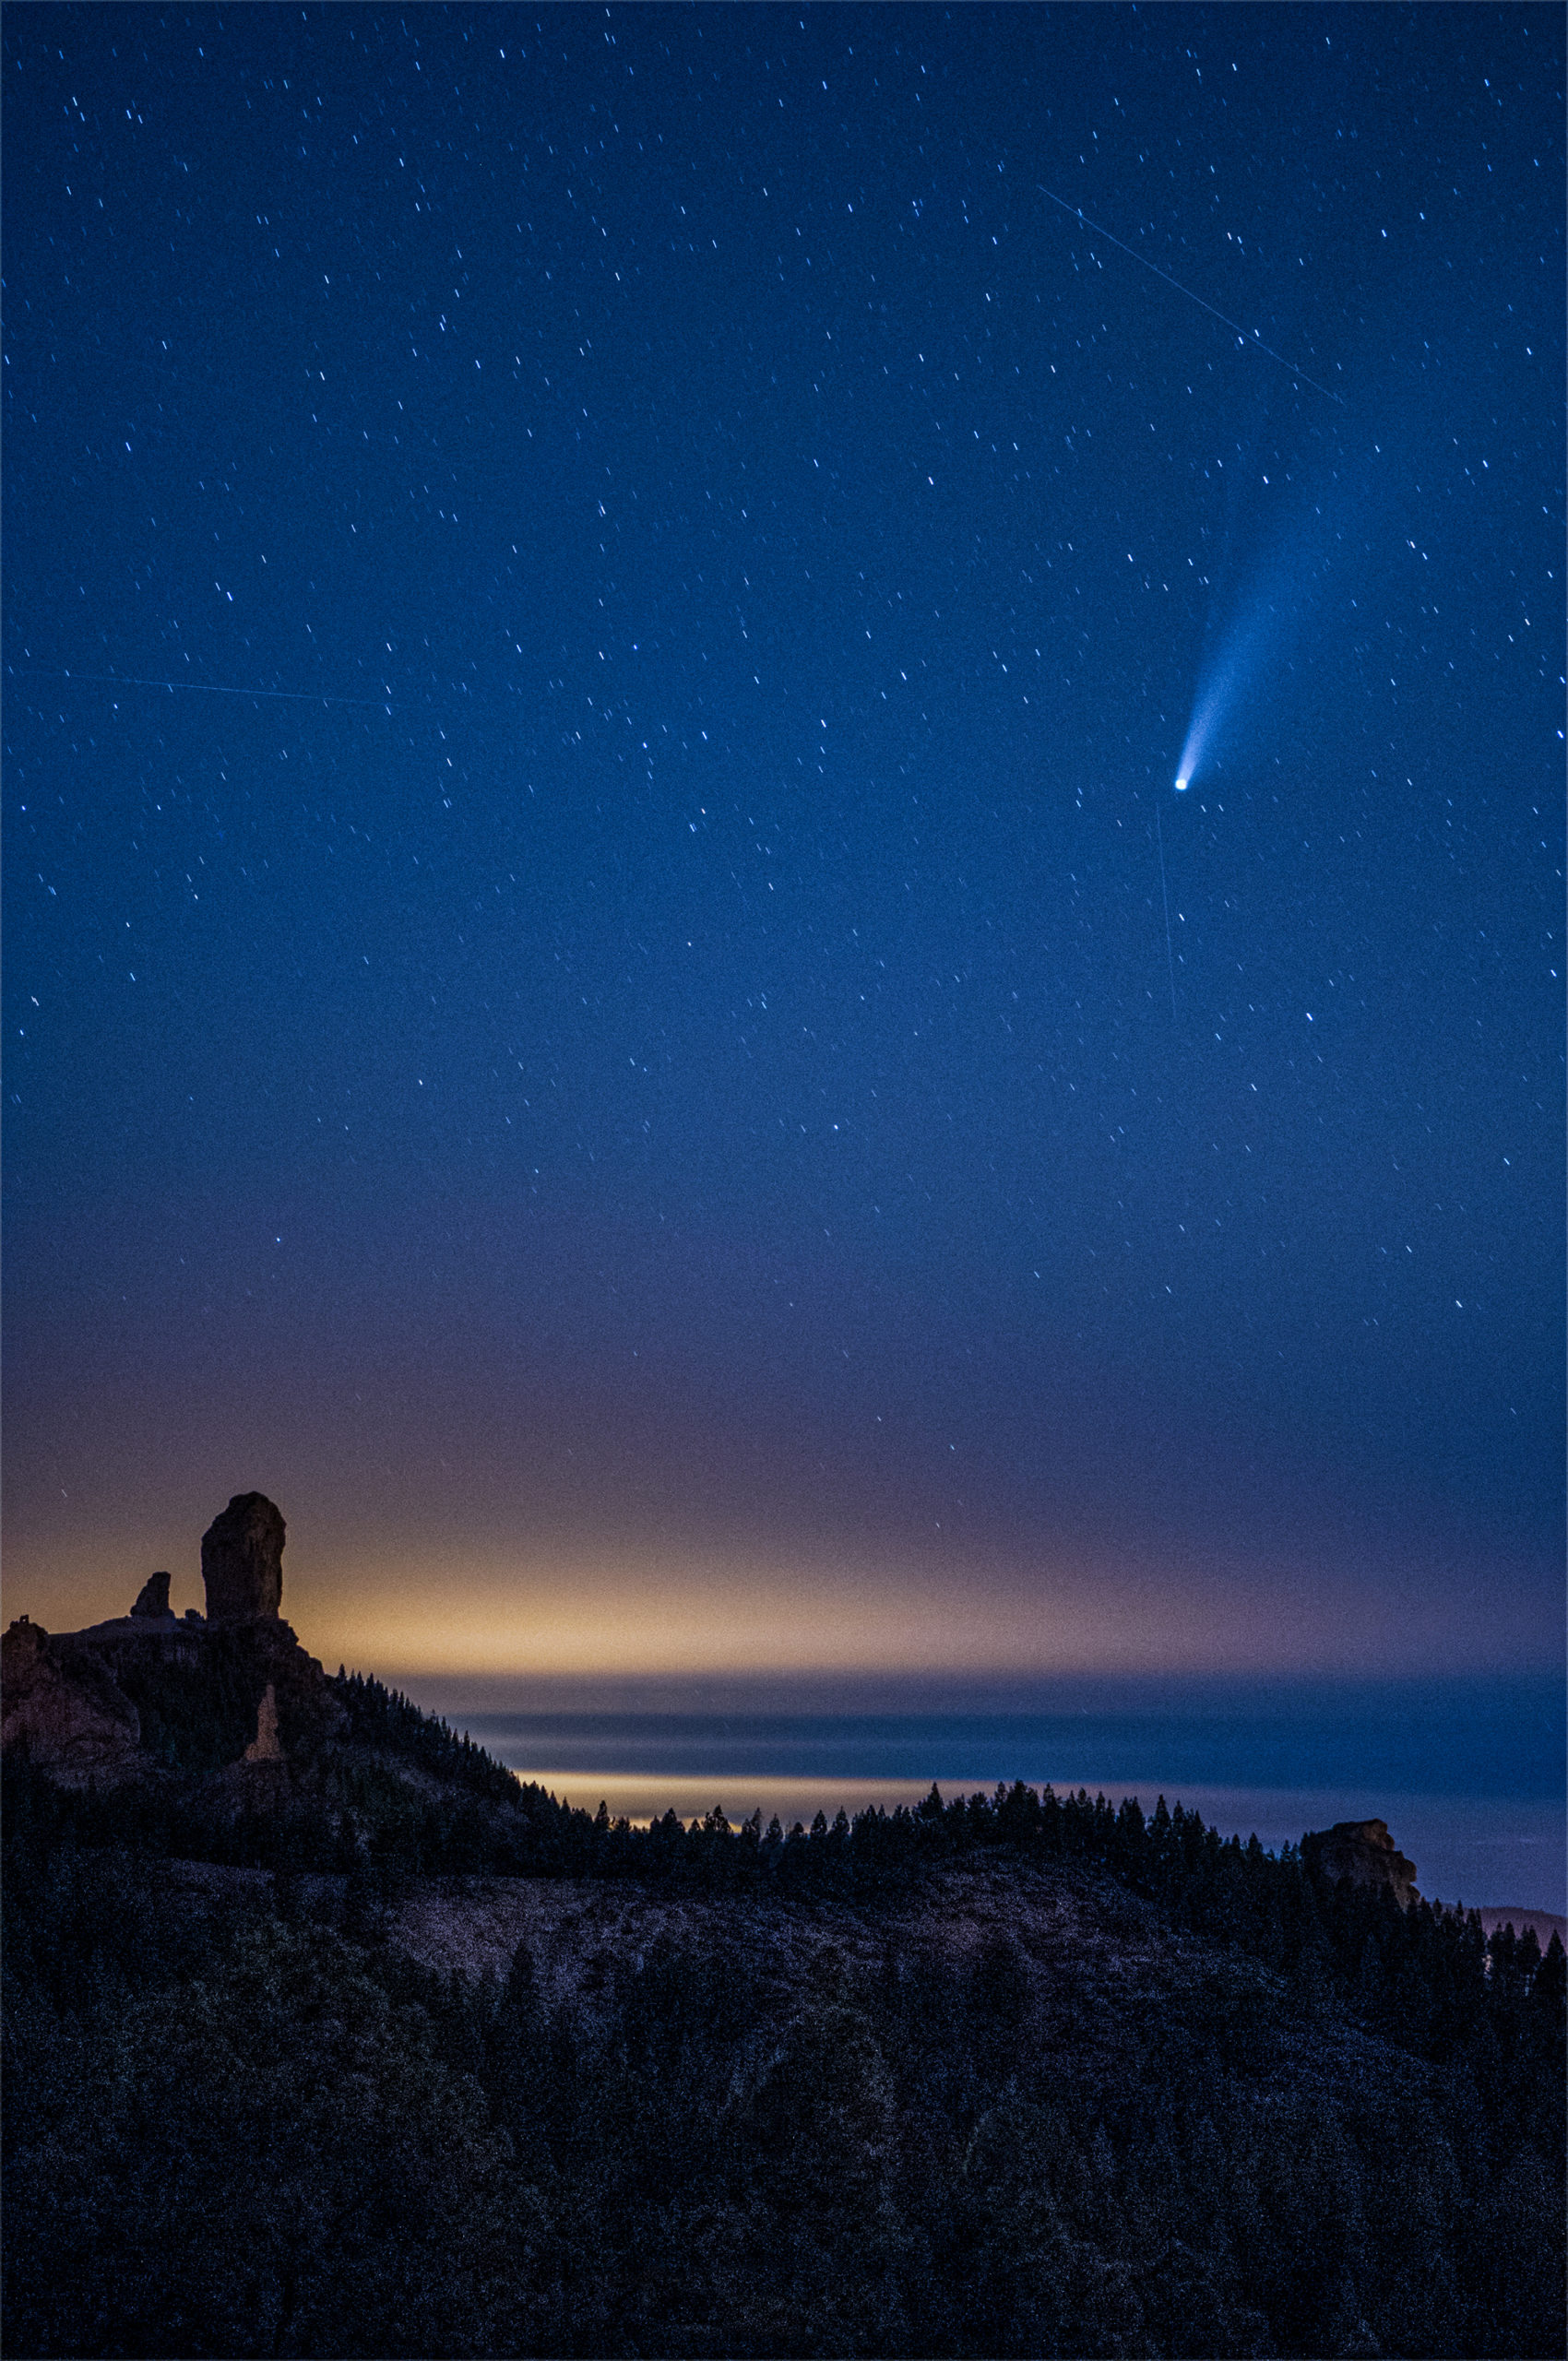
When planning your itinerary, consider factors such as sunrise and sunset times, lunar phases for astrophotography, and travel times. Also, check out the places to photograph, accessibility, and how close you can get by car, then write a list of the necessary equipment depending on the photos you want to take. Remember to leave time to discover new places, simply by walking and in César’s words “letting yourself be surprised when you find something unexpected.”
What to pack
Packing strategically is a fundamental step. César advises being selective with the equipment and reducing weight while maximizing versatility: “I am very selective and like to be efficient in terms of weight, considering the destination and the places to visit, if I will walk a lot and how much I can explore on foot.”
Essential equipment
- Lenses: César recommends a kit of versatile lenses, including a wide-angle for landscapes and small spaces, a mid-range zoom for adaptability, and a telephoto for distant subjects. For beginners, he suggests bringing an “all-round” lens.
- Tripod: Essential when handheld shots aren’t possible, it prevents vibrations and blurring.
- Filters: Don’t forget filters like polarizers and ND filters to regulate light and achieve specific effects.
- Useful accessories: Ensure you have extra memory cards, fully charged batteries, and a durable camera bag. César highlights the importance of having a comfortable strap or harness for the camera, so it’s always at hand for spontaneous shots.
Best times to shoot
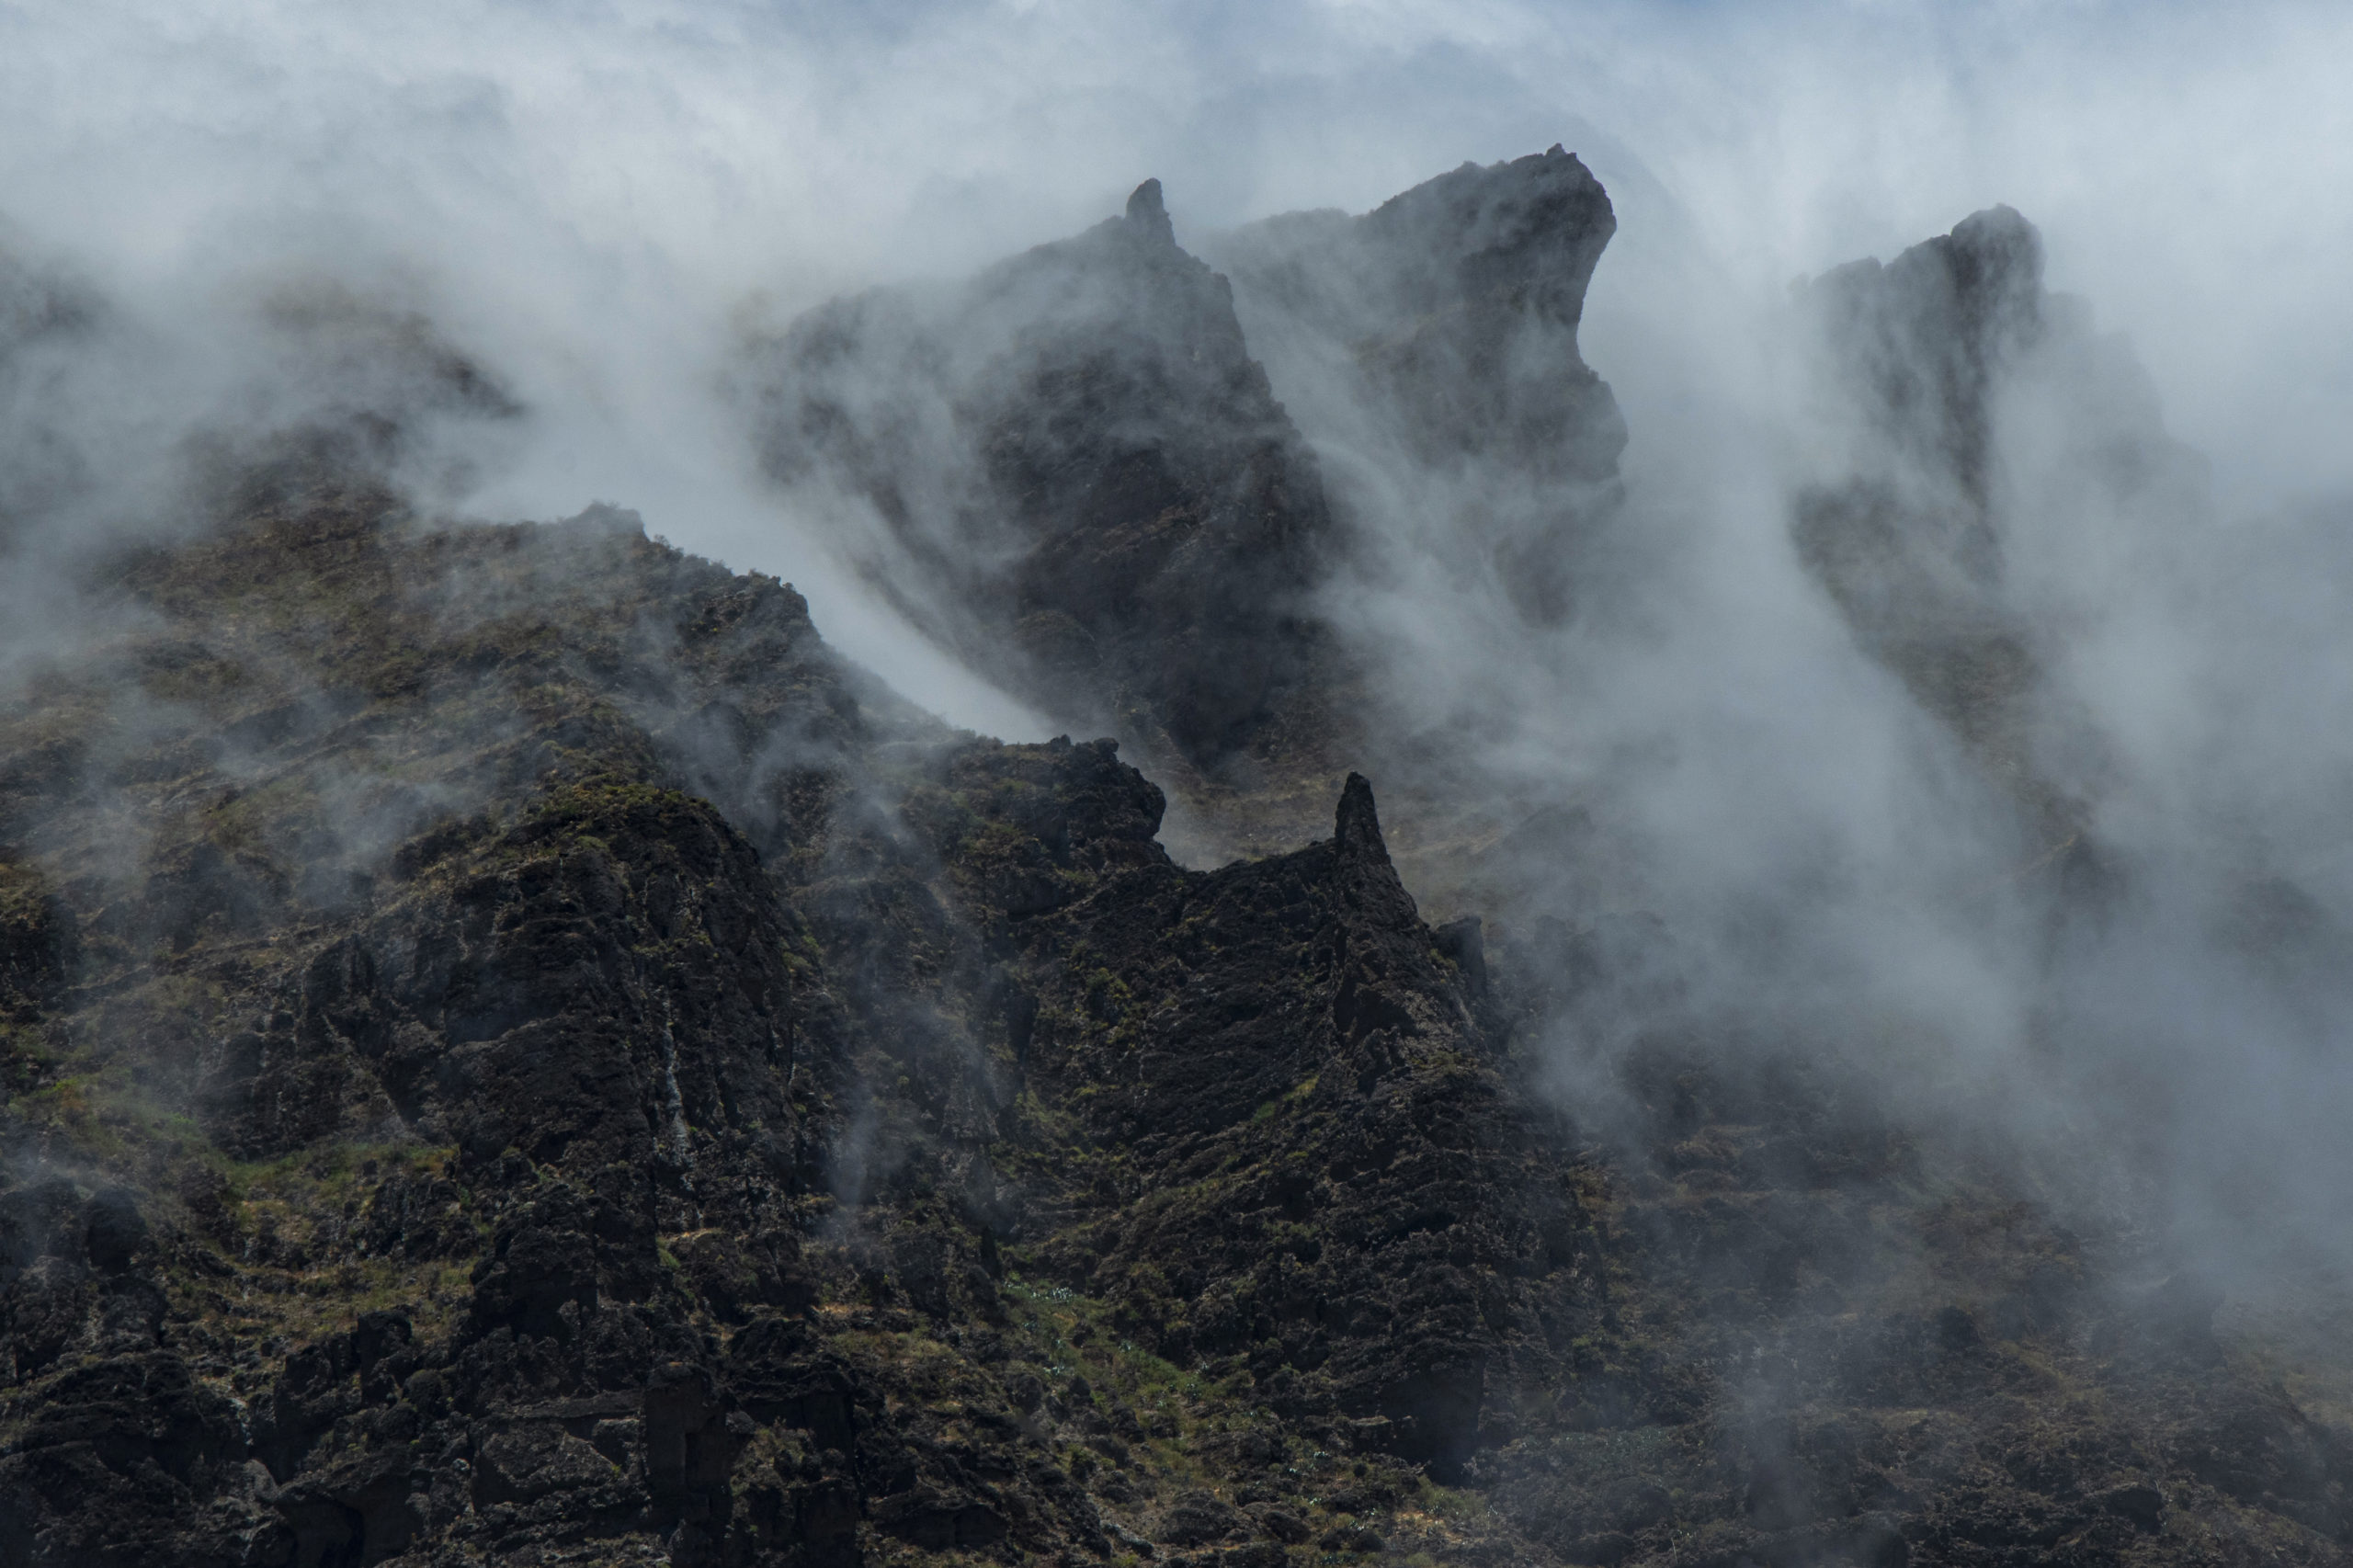
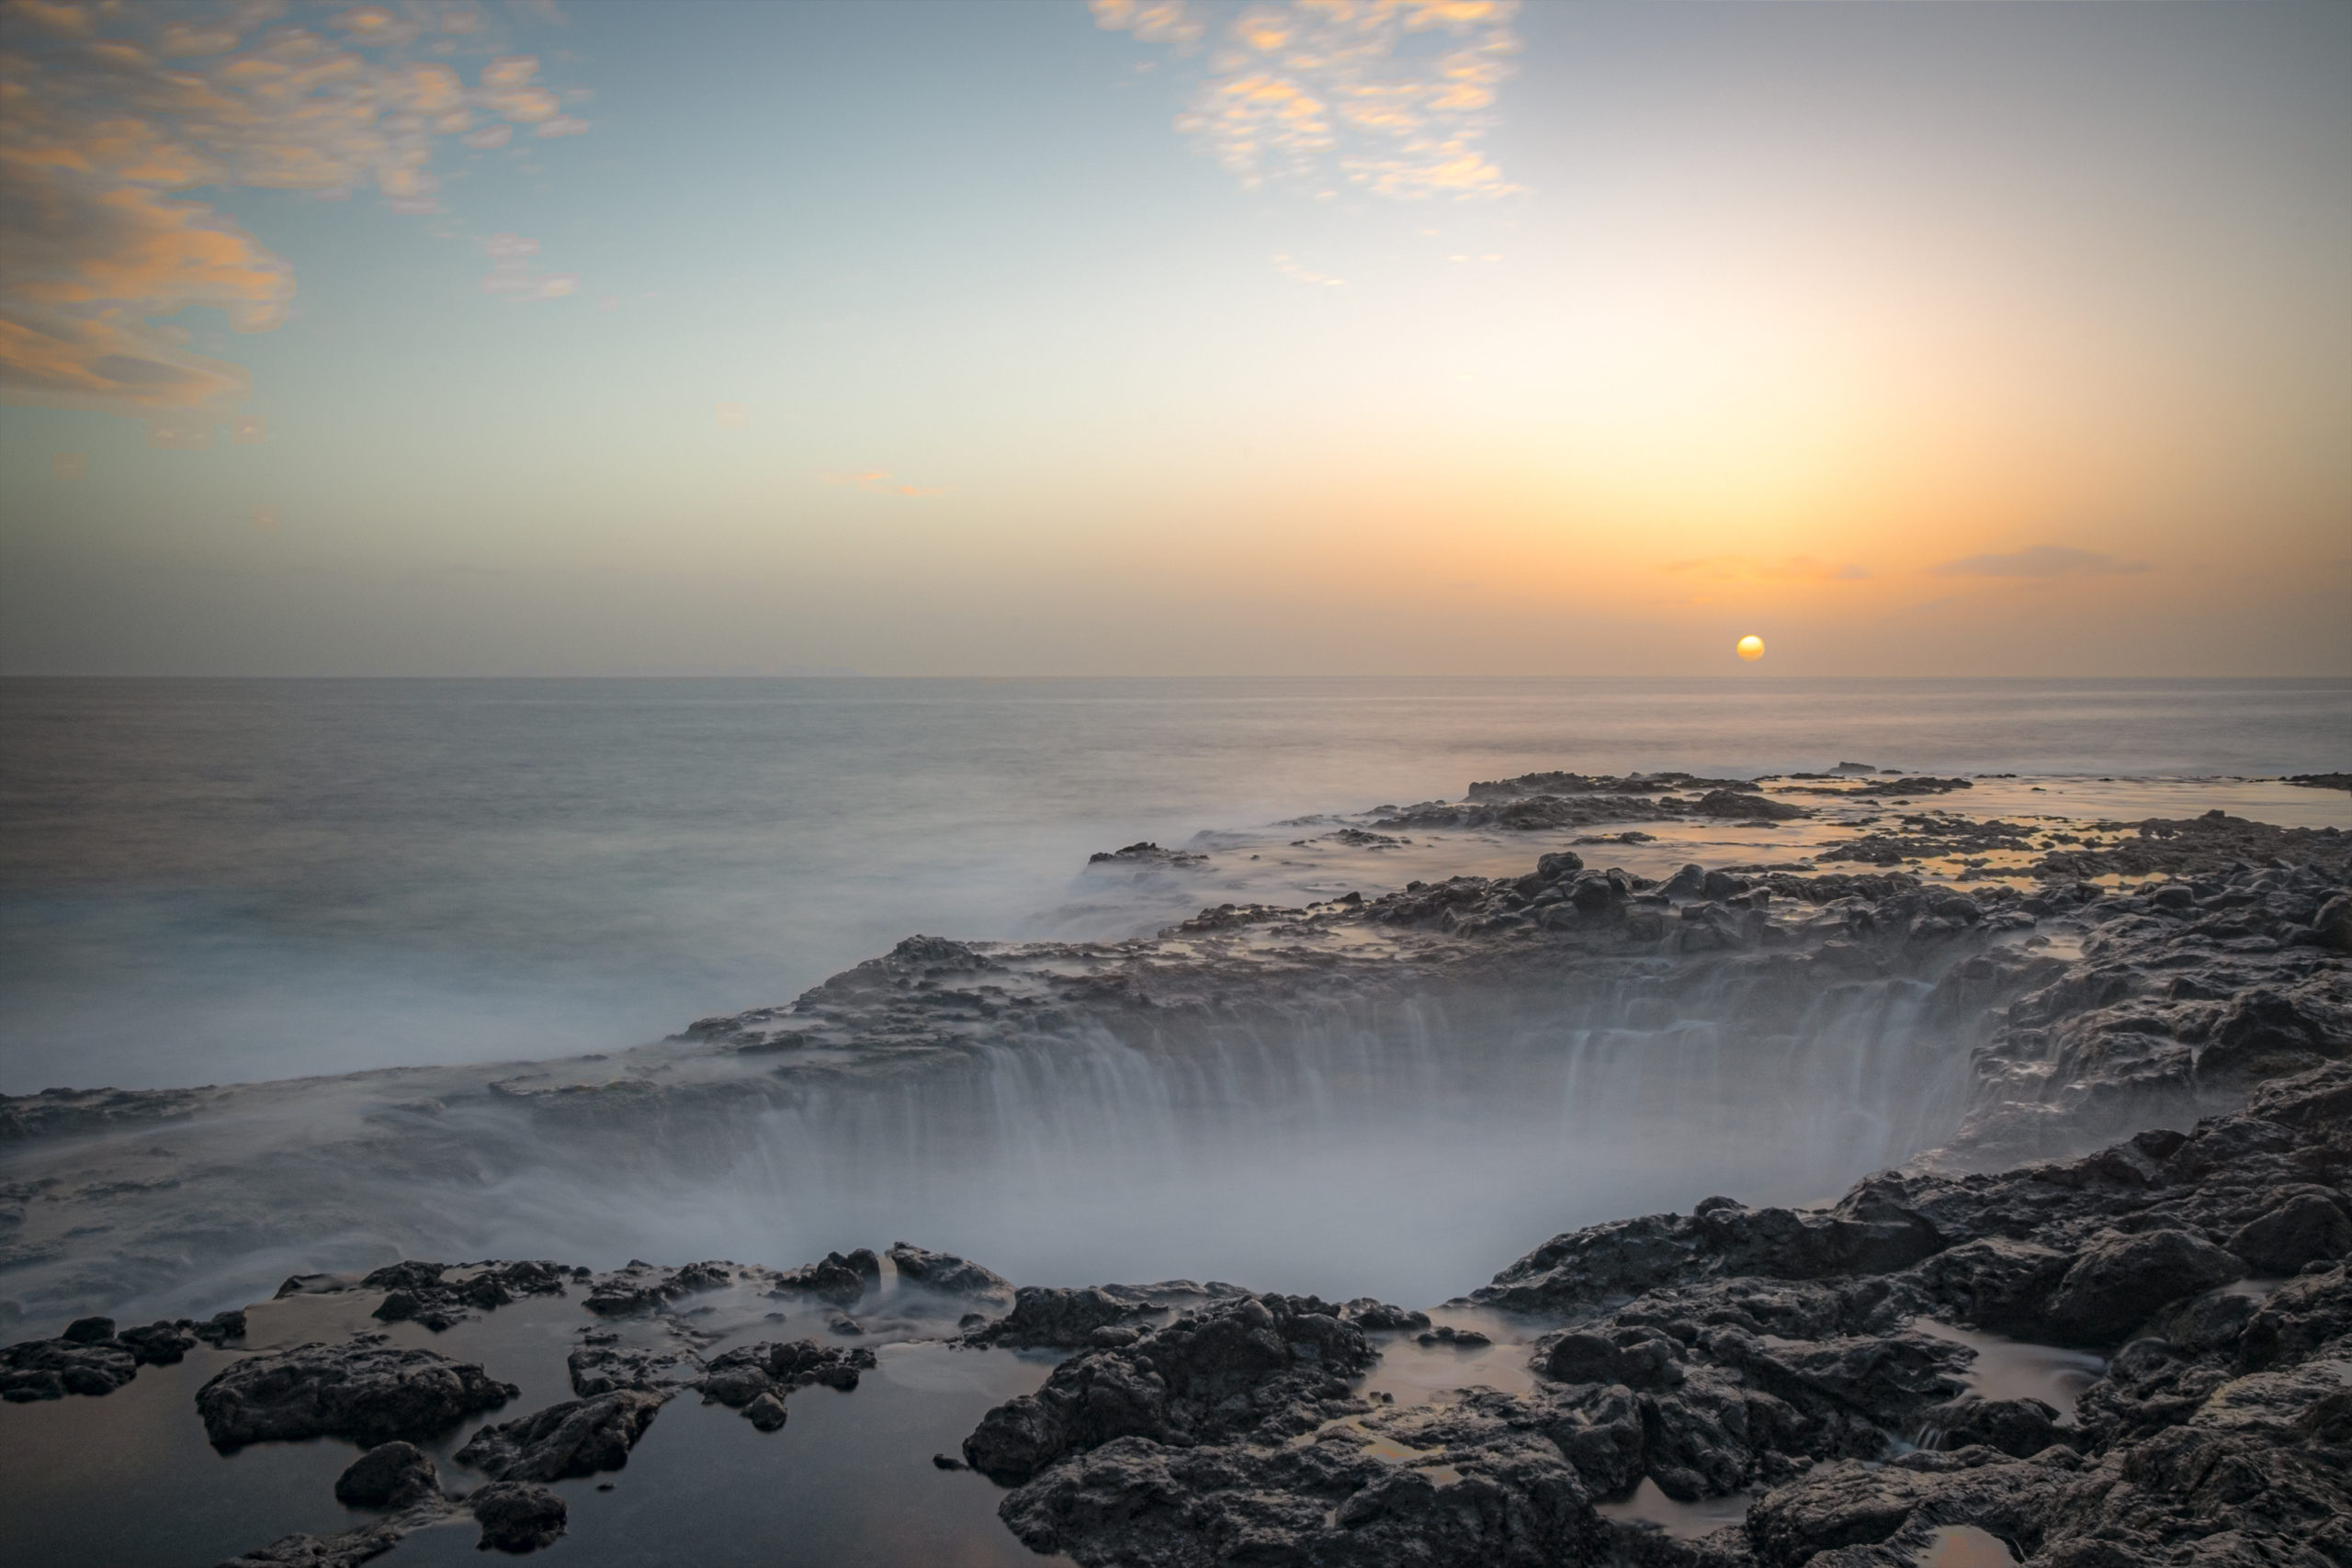
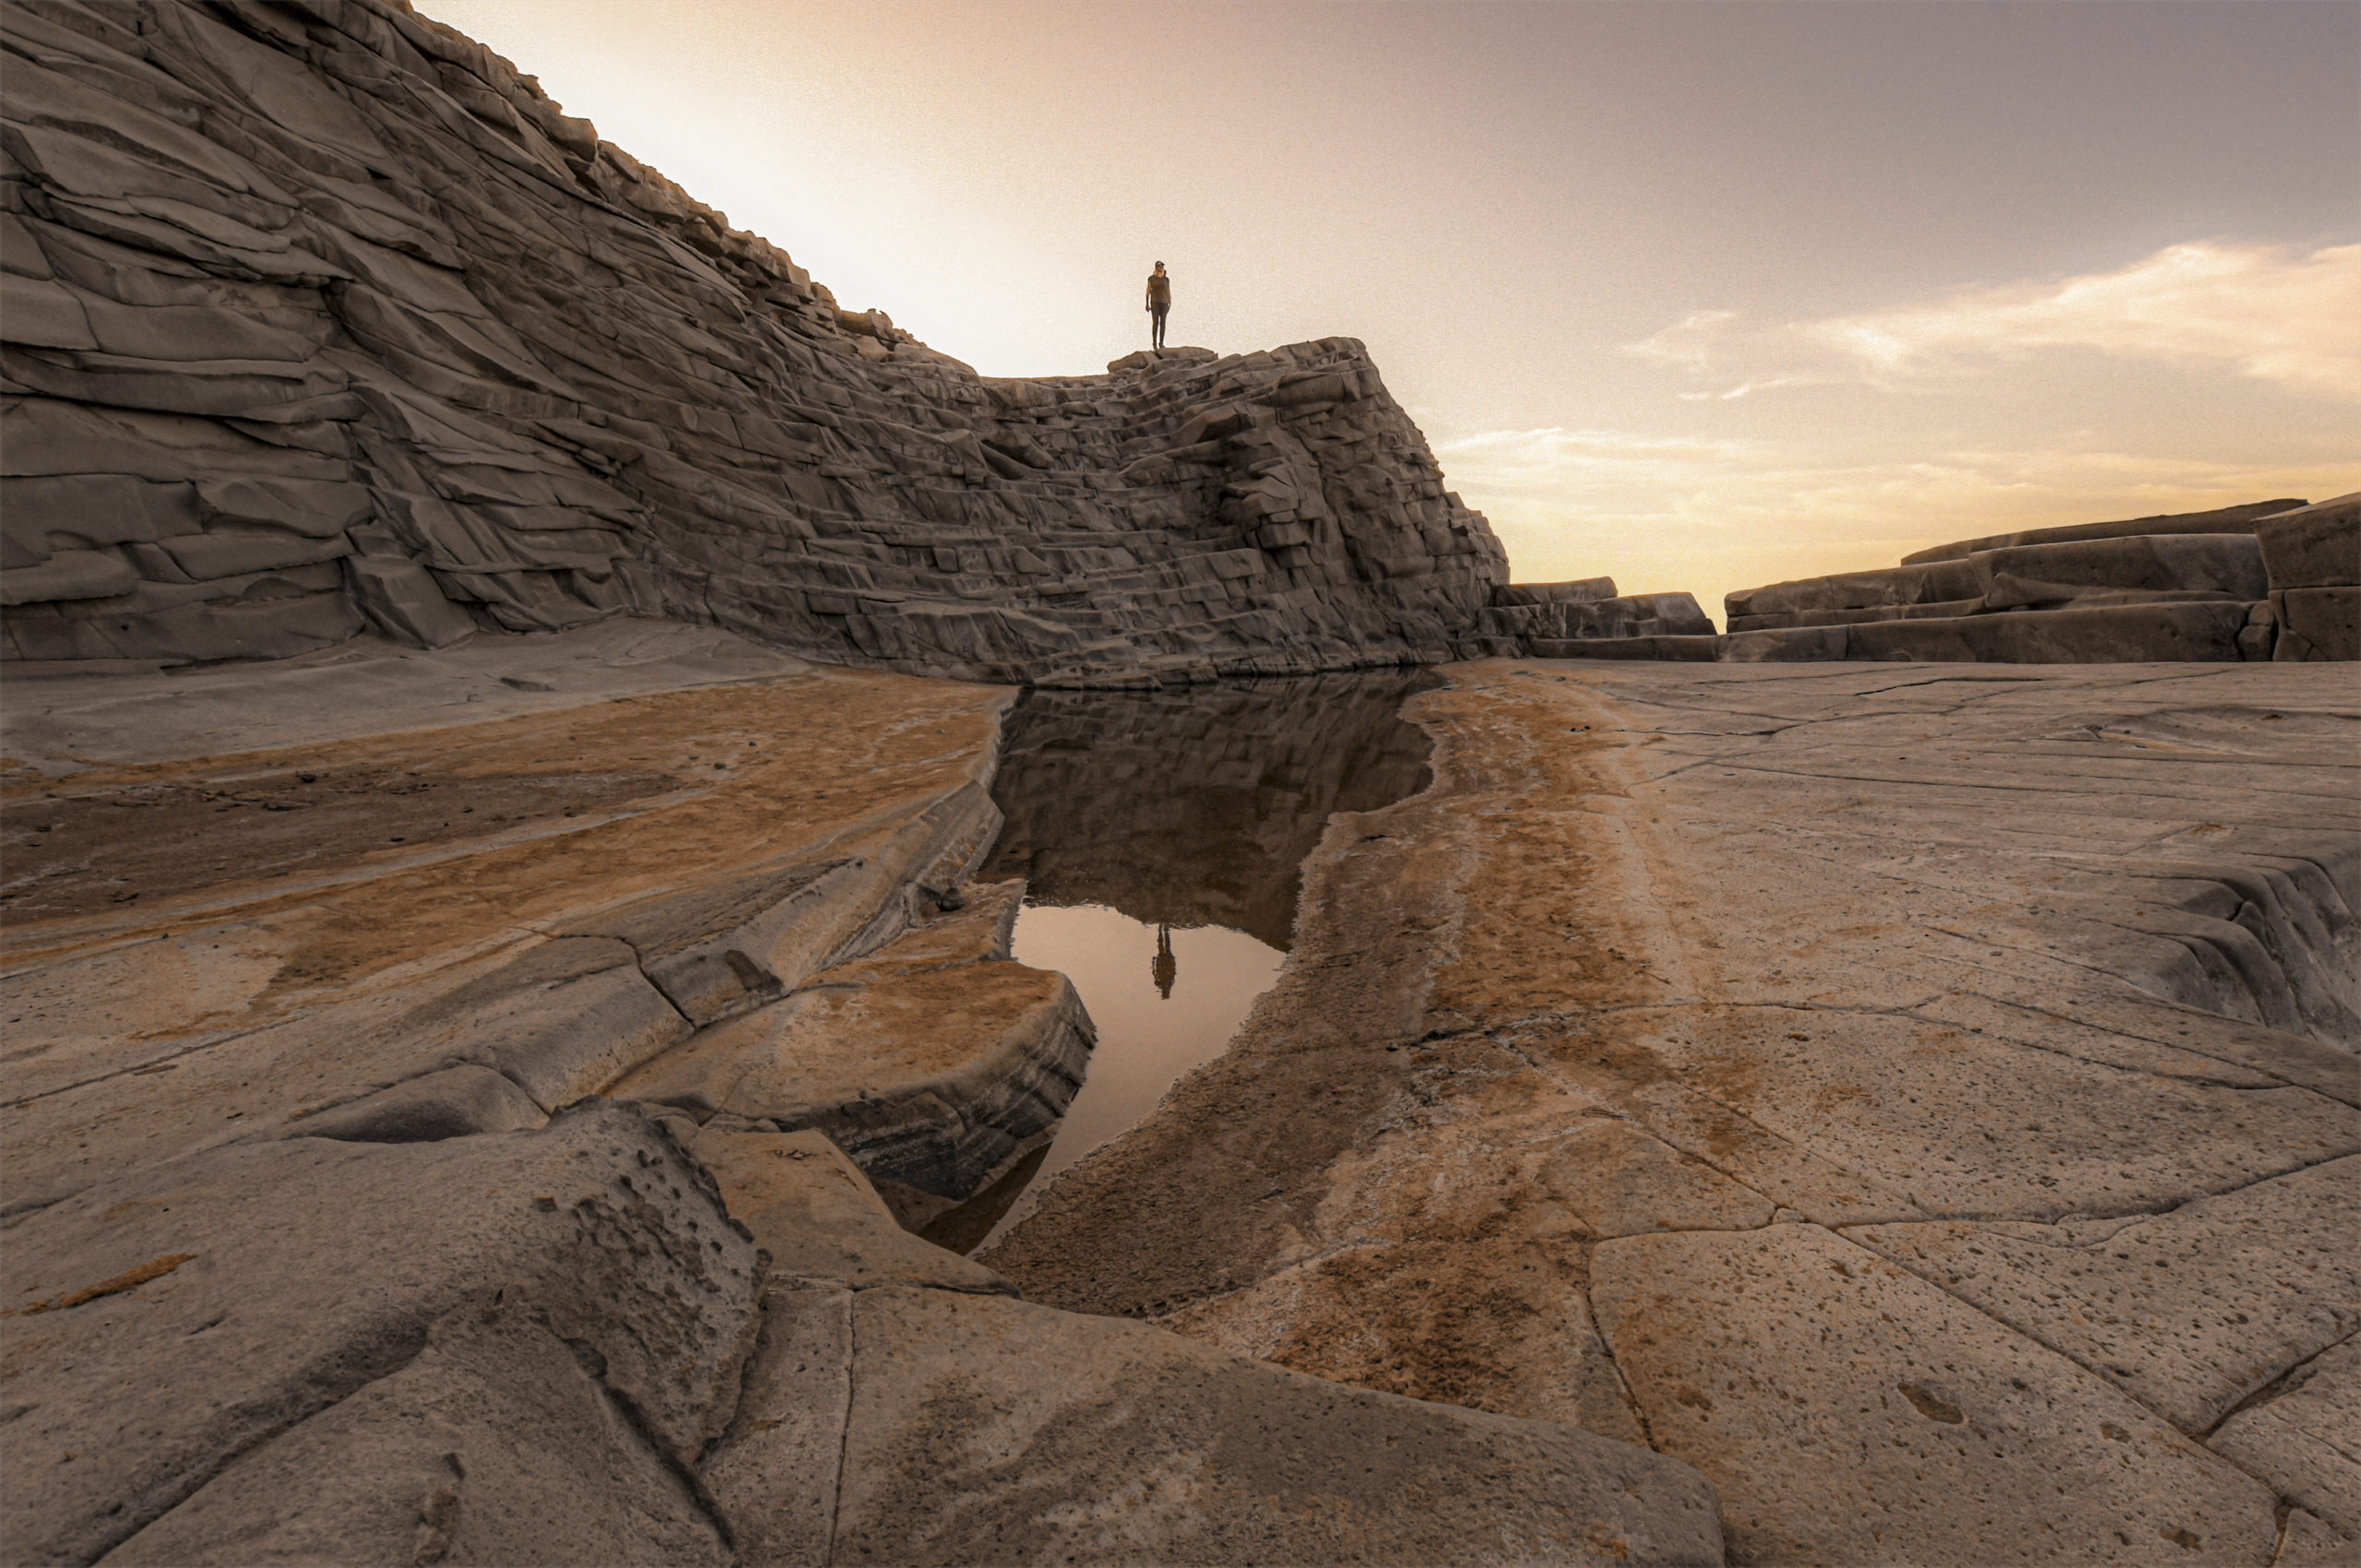
“Any time of day is good for taking photos,” says César. Especially considering that travel time is limited and you’ll want to visit as many places as possible before returning home. That’s why it’s important to organize your days carefully and think ahead about the light you’d like in each specific location. Naturally, “in terms of light quality, dawn and dusk are the best times to capture the landscape in all its splendor and chromatic charm.” So try to plan your day around these “golden hours” and specific locations.
Tips for shooting in adverse conditions
Even with the best planning, you’ll encounter less-than-ideal situations. Travel photography often presents challenges in terms of lighting and weather conditions, so you’ll need to improvise and adapt.
César shares some practical tips for these situations: “If we have low light, we’ll need to increase the ISO to achieve adequate exposure and avoid blurry photos.” On the other hand, with very bright light, “we need to play with the aperture to regulate the light intake.” Always keep an eye on the light-shadow contrast, so as not to lose the details of the shot.
Another challenging condition is crowded places, making it difficult to take clear, clean photos. To get that classic “postcard shot”, consider shooting early in the morning, late in the evening, or (if possible) at night when there are usually fewer people around. Alternatively, use a tripod, ND filters to reduce light, slow shutter speeds (long exposure), and a closed aperture to maximize exposure and make moving people disappear from the frame.
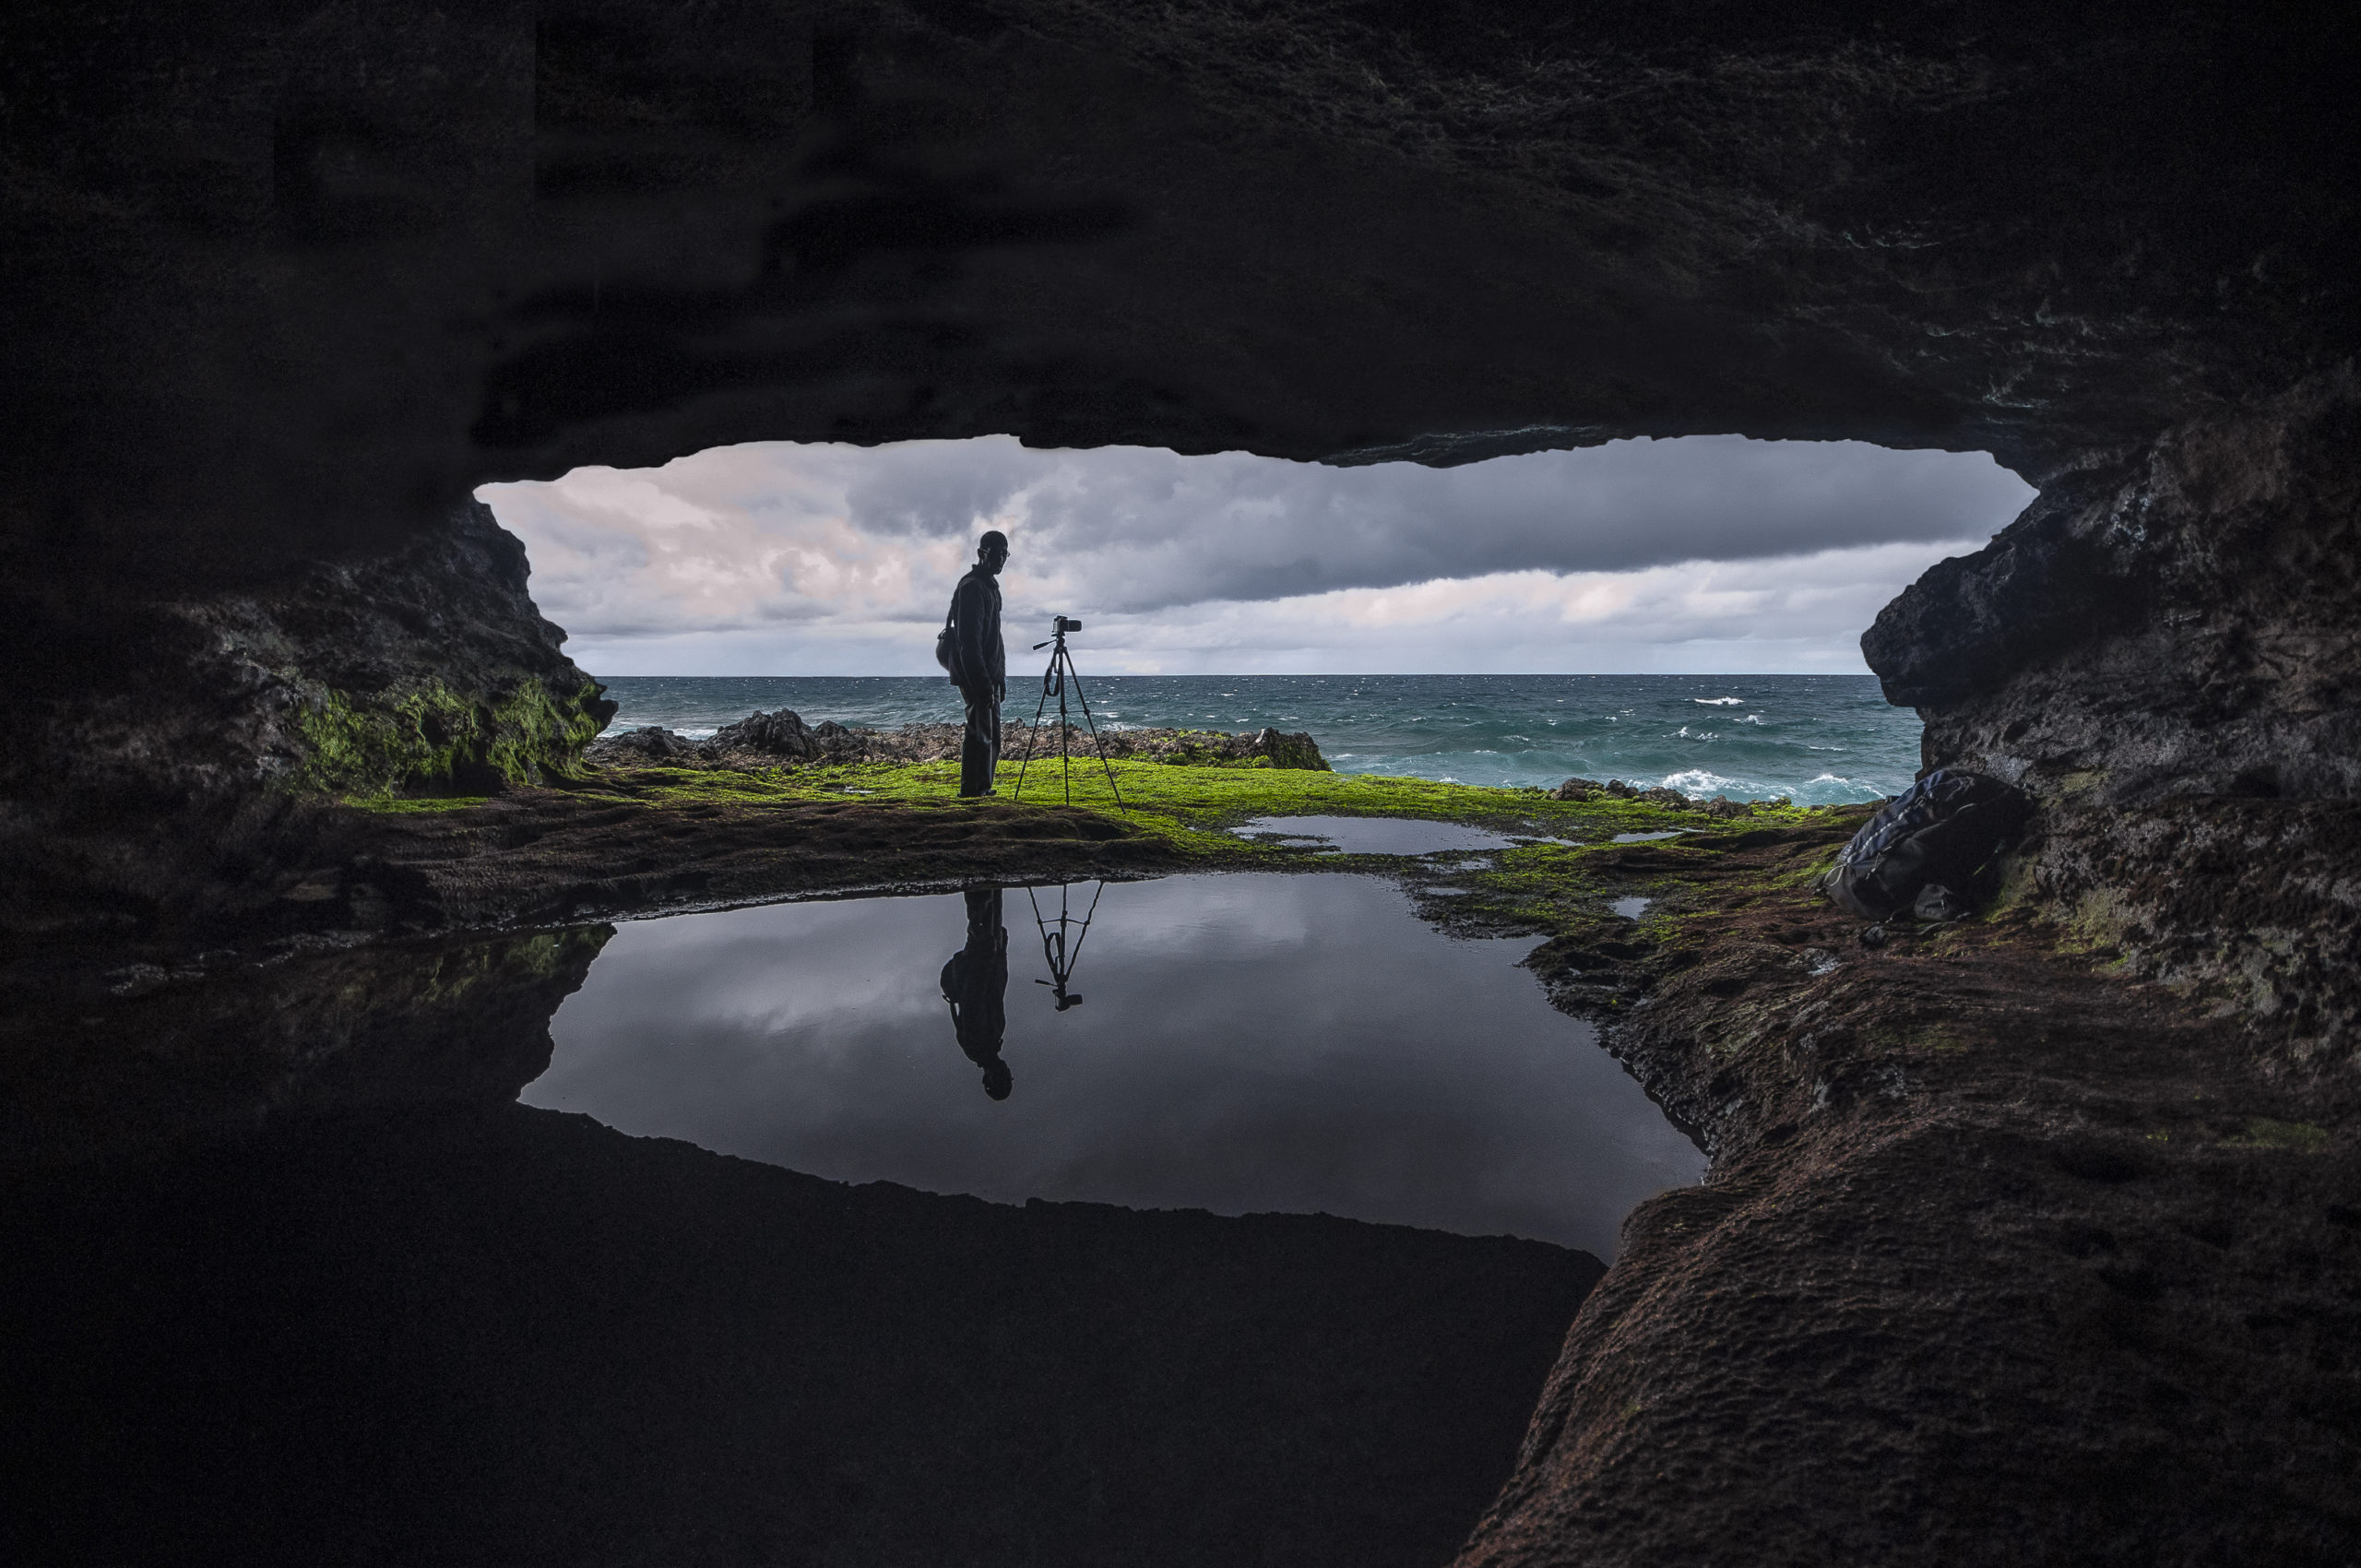
Photo composition
The essence of composition in travel photography revolves around the concepts of lines, colors, and visual balance. The photographer emphasizes that “clichés aside, composition is fundamental when taking more daring, personal, unique, and emotional photos.” During his tours, César encourages participants to seek different points of view, take less conventional landscape shots, and try to reveal the essence of the place through its characteristic elements.
Among the fundamental composition techniques is the Rule of Thirds, useful for organizing subjects in the frame using lines and geometric shapes. This creates interesting and balanced images, filling the frame in a visually pleasing way. You can also play with effects like bokeh for out-of-focus elements and patterns. Proportions, shadows, and colors play an important role in achieving harmony and detail in travel photographs. Using these rules, you can develop a personal and captivating photographic style.
After the trip: Photo editing
Editing is important for enhancing photos, but César warns against distorting reality. The goal is to achieve the desired results with minimal post-processing, maintaining the honesty and integrity of travel photography. For mobile devices, the photographer uses TikTok for videos and Google Photos for editing. On the computer, he prefers Photoshop with Camera RAW. For beginners, he recommends using Lightroom for its simplicity. Finally, always remember to shoot in RAW format for greater editing flexibility.
Now it’s your turn
Try César’s expert tips during your next photography trip, improve your skills, and capture unforgettable moments. Remember: preparation and flexibility are necessary to take unique images in different environments.
You can also continue to improve by joining a travel photography experience. A photography tour focuses on providing optimal times, places, and opportunities to capture the best scenes. Participants receive advice on the necessary equipment, appropriate clothing, and ongoing support from professional photographers. These tours offer dedicated photography times, fostering collaboration and sharing experiences among participants and with the guide.
Discover our National Geographic Day Tours: